Gelousy 1-Step Gel
Everything you need to know on one page

For shorter natural nails - Gel manicures and Pedicures
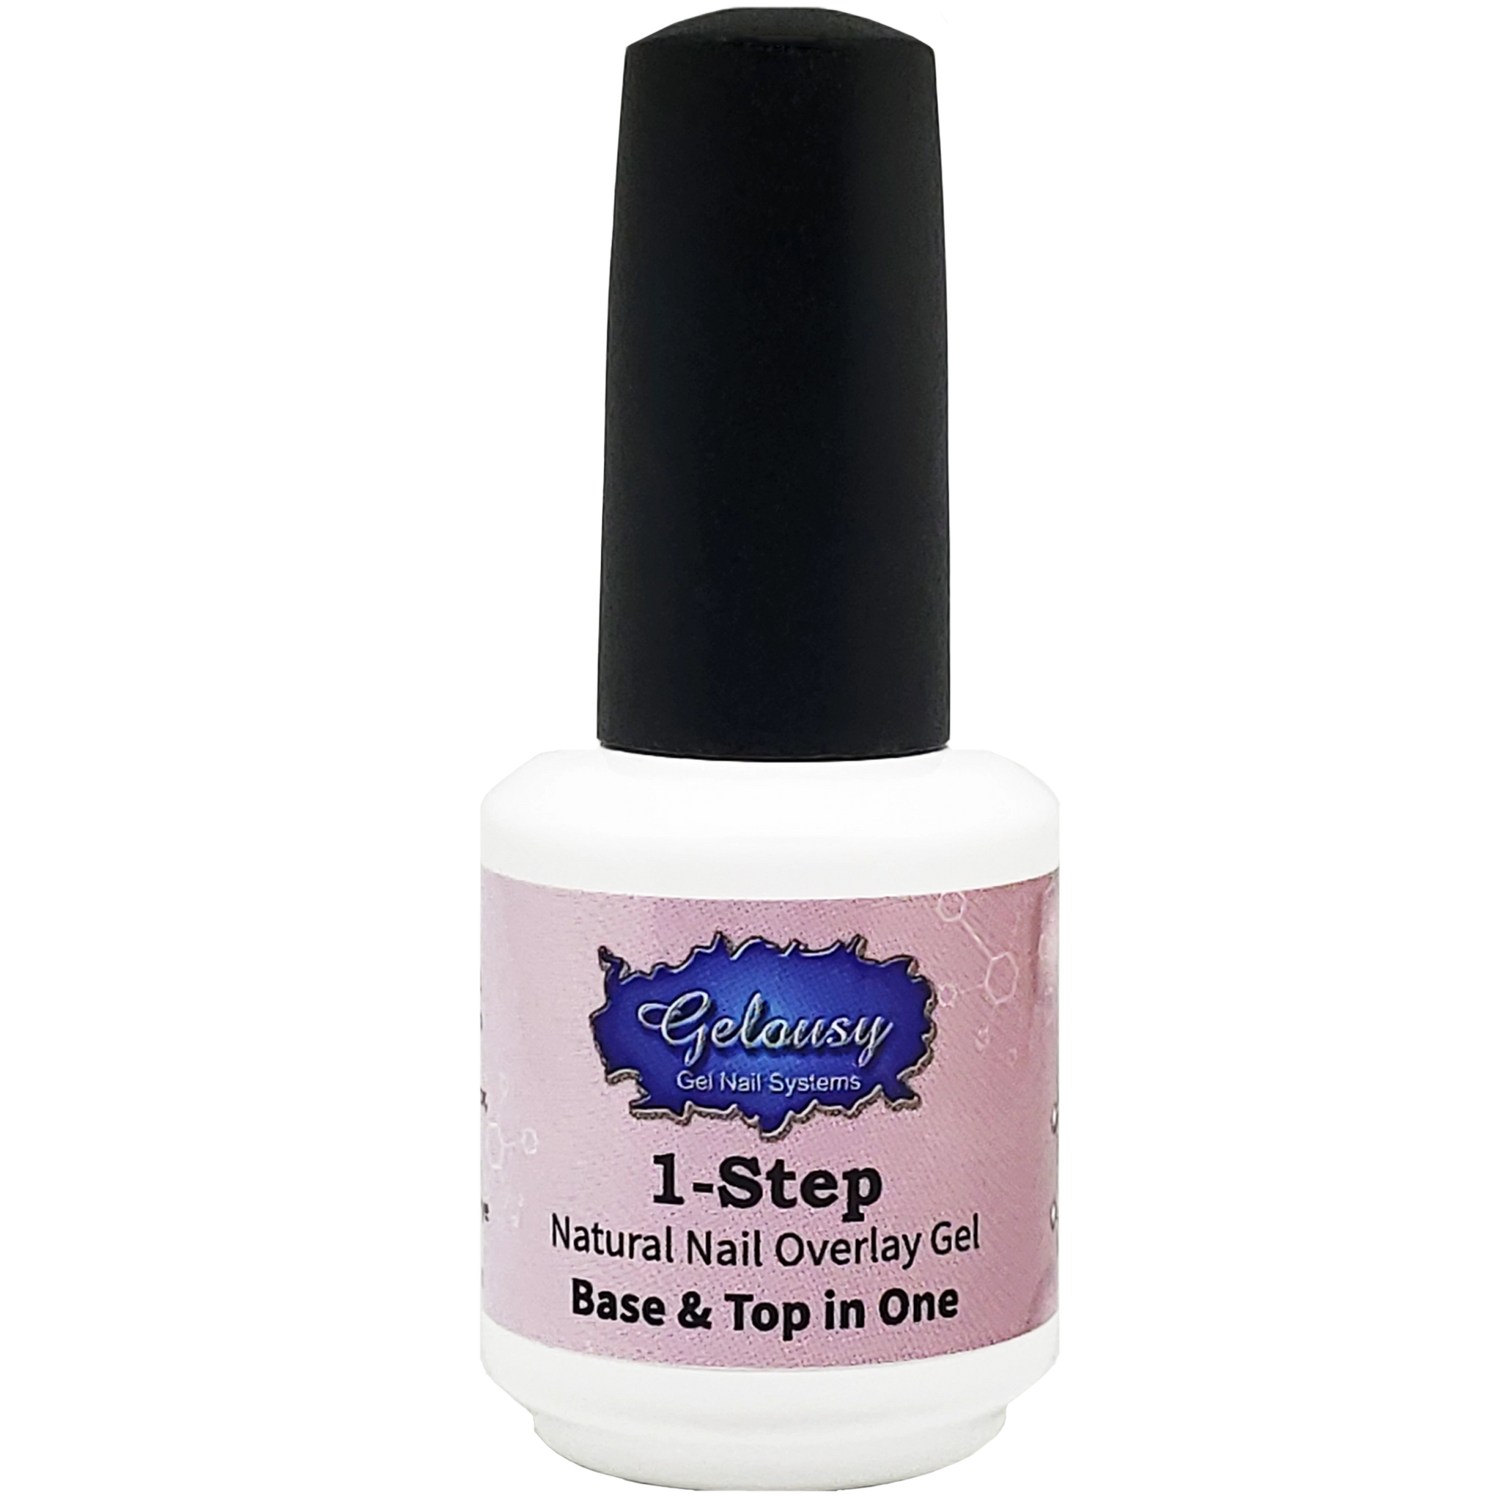
1-Step Gel
Application:
Prep the nails
Brush on a coat of Gelousy Acid Free Primer
Brush on a coat of 1-Step Gel - Cure for 2 minutes in Gelousy Lamp
Add any color, nail art etc. - Cure for 2 minutes if applicable
Brush on another coat of 1-Step to seal in the art and cure for 2 minutes.
Wipe the sticky (inhibition) layer with Gelousy Nail Prep/Wipe or apply All Done! top gel.
Wash your hands and tell your client to wash their hands.

acid Free Primer to be used before gel application
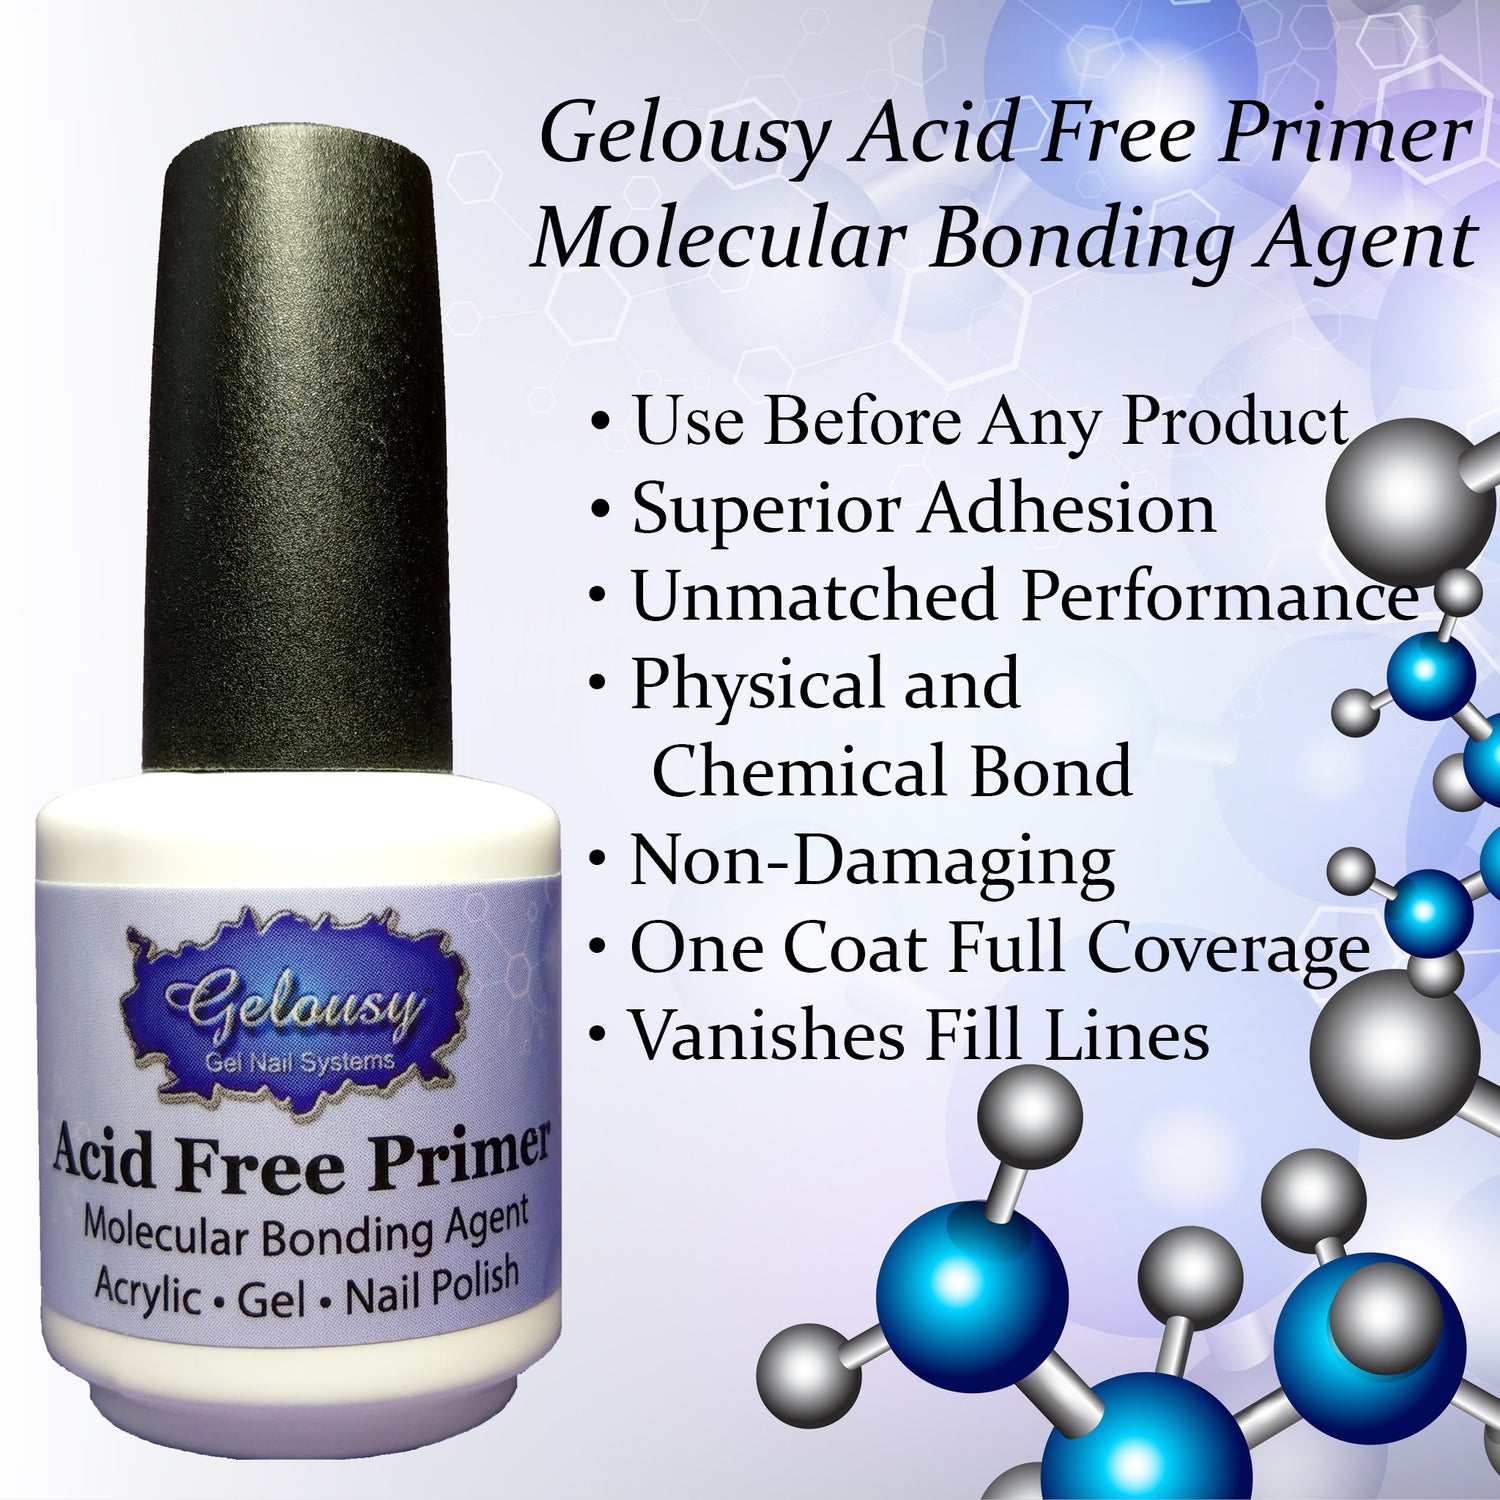
Acid Free Primer
Use Gelousy Acid Free Primer after you prep the nails and before any gel application

get started with gelousy 1-step gel
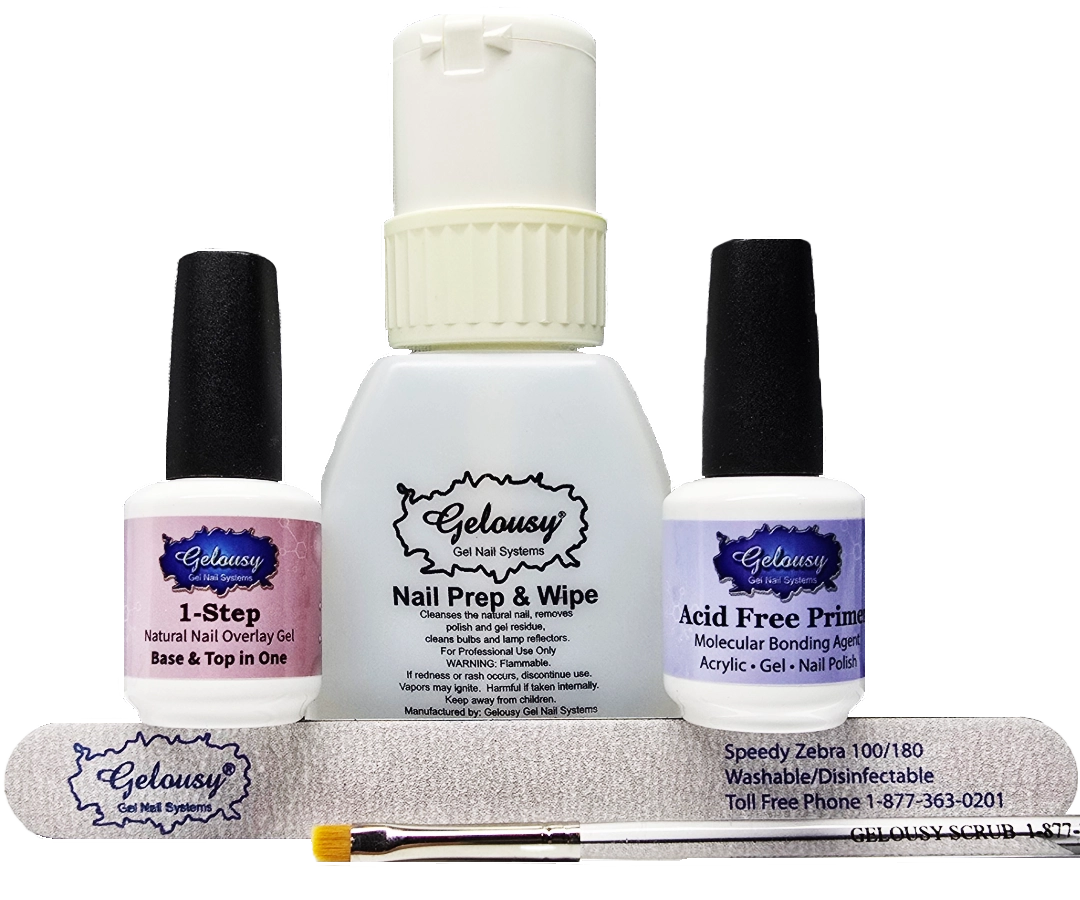
1-Step Kit
Includes:
1-Step Gel
Acid Free Primer
Nail Prep
Nail File
Scrub Brush - for nail prep
How to apply Gelousy 1-Step Gel
frequently asked questions
FAQ
What is 1-Step Gel for?
Natural nail gel overlays. Nothing longer than about 1/4 inch.
How do you remove 1-Step gel?
You can soak it in acetone and scrape it off, let it grow out or remove it with a nail file. However it never needs to be removed. It can be filled by thinning it out past the color or nail art with a file, then reapplying it to the existing product.
Does this gel have TPO or HEMA
TPO-Free and Moving Forward!
We’ve reformulated all our products to be TPO-free, aligning with the latest EU
regulations to ensure the highest safety standards. As we transition over the
next few months, you may notice some packaging still mentions TPO, but rest
assured, our products are now TPO-free. We’re committed to keeping you safe and informed every step of the way!
Hypoallergenic and HEMA-Safe
Our products are crafted to be hypoallergenic, using di-HEMA—a bound form of HEMA that minimizes the risk of irritation. Unlike free HEMA, which can cause sensitivity, our di-HEMA is a different molecule. For example you can have orange juice and orange paint. Both contain the word orange, but they are very different.
Curious to learn more?
Check out this quick, informative video: YouTube Link.
What About “HEMA-Free” Claims?
You may see some brands advertise “HEMA-free” products, but not all
replacements are created equal. Some alternatives can be more irritating than
our carefully bound di-HEMA. With our gels, you can trust that we prioritize
your safety by using ingredients designed to reduce allergic reactions when used correctly.
The Key to a Worry-Free Experience
The secret to flawless, reaction-free results lies in proper application and
curing. Here’s how to ensure the best experience with any gel product,
including ours:
Cure Properly: Fully cured gel poses no risk, so always use the recommended UV lamp and follow curing times.
Keep It Clean: Avoid getting gel on the skin, and wash your hands (and your client’s) before and after every service.
Follow Instructions: Stick to the application guidelines and avoid mixing product lines for the best results.
By taking these simple steps, you’re setting yourself up for stunning, safe results every time!
We’re here to help you create beautiful, worry-free results. By practicing proper sanitation, keeping gel off the skin, curing it thoroughly, and washing hands after each service, you’ll greatly reduce the chance of any issues.
